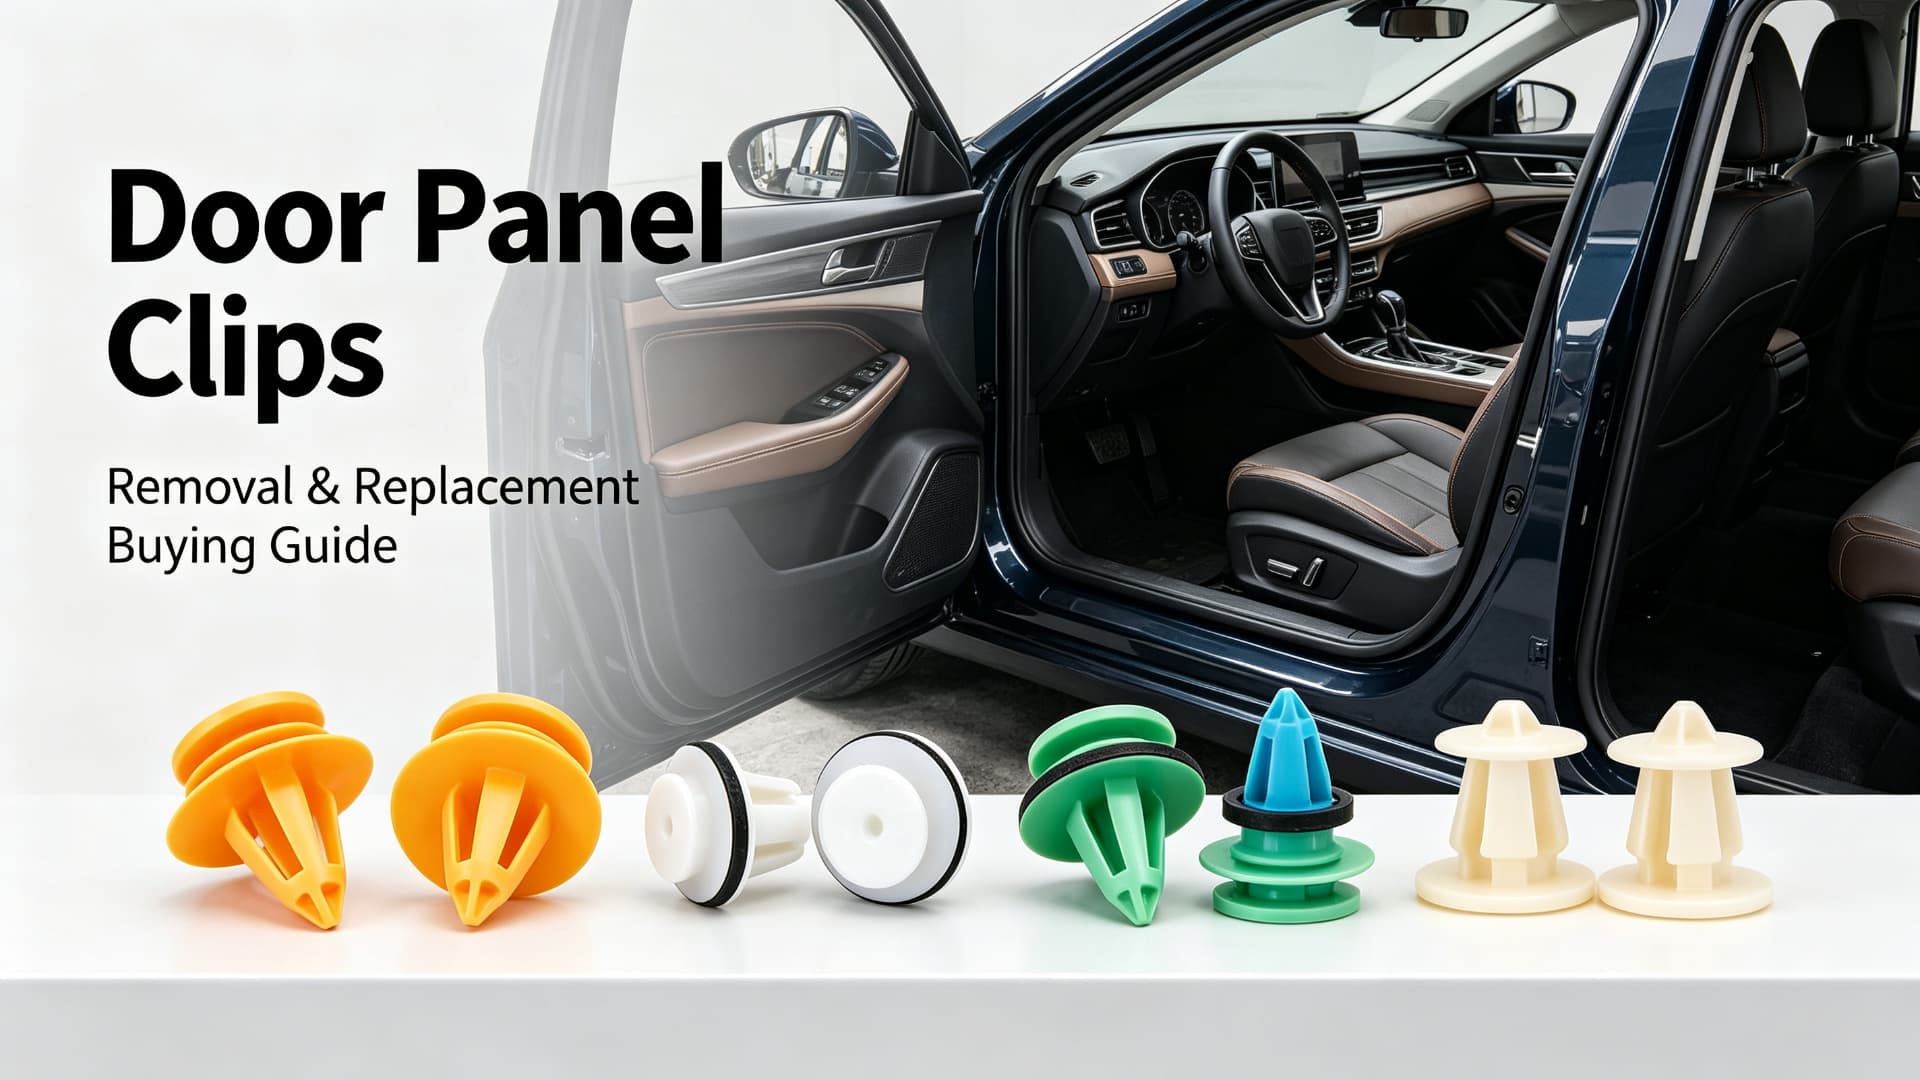
MotiveCrate Guides
Door Panel Rattle: Why the Clip Is the Cause, and How to Fit the Right One
A door panel that buzzes over expansion joints is usually a loose trim clip, not a broken one. How to remove a door panel without damage, fit the replacement correctly, and match the OEM number across Toyota, VW/Audi, Mazda and Ford applications.
Published October 6, 2026 · Updated October 6, 2026 · 14 min read · Reviewed by MotiveCrate
Door Panel Rattle: Why the Clip Is the Cause, and How to Fit the Right One
A rattle behind the door card is one of the few interior noises that is almost always traced back to a single component. Nine times out of ten it is the door panel clips — and the clip is usually not broken.
That surprises people. They pull the panel, find twelve door trim clips still attached, none of them cracked, and put it all back together. The rattle returns within a week. What changed is not whether the clip survived, but whether it still grips.
This article covers the three things that actually determine whether a door panel stays quiet: identifying the retainer you have, removing the panel so the clips come out intact, and installing the replacement so the panel is held at the right preload. Four specific applications are covered at the end, with the OEM numbers.
If you only take one thing from this article, take the sequence. Most of the damage that turns a ten-minute job into a two-day one happens because the first clip was levered in the wrong place, and most repeat rattles happen because the installation put the panel back on loose clips. Both are avoidable, and neither costs anything but attention.
Start with the symptom, not the panel
Different noises mean different faults, and pulling the door card is the slow way to find out which one you have.
| What you hear | What it usually is | Check before removing anything |
|---|---|---|
| Sharp rattle over expansion joints and rough roads | Clip has lost radial grip, so the panel is moving on the clips | Press the panel inward with a flat hand while driving that surface. If the noise stops, it is clip preload |
| Buzz that appears with bass and stops when you press the door | Panel vibrating against the door frame, or a clip head contacting the metal | Same test, plus check the speaker mounting screws. Low-frequency vibration is the most reliable way to provoke it |
| Single knock when you close the door | One clip not seated, or a clip sitting in an oversized hole | Push each clip location in turn |
| Creak that appears when the body flexes | Trim rubbing on trim, or a dry weatherstrip | Usually not the clips. See the note on felt tape below |
| Rattle that started after a repair | A clip was reused, or the wrong stem diameter was fitted | Compare the installed clip against the original number |
The press test is worth doing properly. With the panel installed, press flat against it near each clip location while the car is moving or while someone plays a bass-heavy track. A panel held by clips with correct preload will not move. A panel running on tired clips moves a fraction of a millimetre and makes a disproportionate amount of noise.
Why a clip that looks fine can still be the fault
Four things happen to an injection-moulded trim fastener over its service life, and only one of them is visible.
The barbs take a set. A push-in clip holds by expansion — the barbs splay behind the sheet metal and grip the hole. The plastic they are moulded from is viscoelastic, which is the property that lets it deflect without cracking. The trade-off is that under sustained load it slowly relaxes. Hold a barb splayed for eight years and it comes back straighter than it started. The clip still snaps into the hole. It no longer clamps.
Heat cycling makes it stiffer. A door panel sees direct sun through the glass and then cold at night, repeatedly, for years. That cycle drives plasticiser out and raises the stiffness of the material. A stiffer barb deflects less, so it grips over a narrower range of hole tolerances. This is why a clip that held fine at 60,000 miles can be loose at 140,000 with no other change.
The hole grows. The sheet metal or the plastic boss the clip seats into takes the same load. On plastic door modules the boss can ovalise. On steel doors the paint film around the hole wears through and the clip loses the interference it was designed around.
The head stops pressing. A door panel clip is not just a fastener — it is a spring. The head sits against the back of the trim board and the barbs pull against the door frame, and the panel is held by that clamp load. Flatten the head, or fit a clip with a shorter stem than the original, and the panel sits loose on the frame no matter how well the barbs grip. This is the most common outcome of fitting a clip that was matched by appearance rather than by number.
None of these show up in a visual inspection. That is the whole problem with reusing clips: the failure mode is invisible, and the labour to go back in is already spent.
The removal sequence for the door panel
The goal is to get the panel off without pulling a clip socket out of the trim board. Once a socket tears, you are repairing the door card, and that is a different job.
The sequence below is the one that works across most vehicles. Ask any technician how they remove a door panel and you will get roughly this answer. Two things change it: whether the panel is held by plastic clips into sheet metal or by screws into a plastic door module, and whether the car has a hidden fastener you have not found yet. Everything else is technique.
1. Disconnect the battery on anything with a door module. Not for the clips. Do it for the airbag, if there is a side airbag in the seat or the door, and for the window regulator on cars that drop the glass when the door opens.
2. Remove the fasteners that are not clips. Almost every door card has two to four screws or bolts, and every one of them is hidden. The usual locations:
- Behind the interior door handle bezel. Pry the bezel, not the handle
- Under the armrest or the pull-cup, often behind a small rectangular cover
- Along the bottom edge on some models
- Behind the switch panel on the driver's door
If the panel resists after the clips release, a screw is still in. Do not pull harder. The clips will hold while the board tears.
3. Take the trim ring off the tweeter or the sail panel first on models that have one. It overlaps the door card on most cars and it is held by its own small clips.
4. Work the bottom edge first, then the sides, then the top. The top of the panel usually hangs on the window belt moulding rather than on clips, and lifting the panel upward off the belt is the last movement, not the first.
5. Use a proper trim removal tool, and work around the clip rather than at one edge of it. A dedicated panel removal tool spreads the load across the whole clip body. A flat screwdriver concentrates it on one barb, on plastic that has been heat-cycled for a decade, and something has to give. If you only buy one tool for interior work, buy this one.
6. Pull straight out. Never twist. Torsion shears barbs. Force in line with the clip seats and releases it.
7. Look for a centre pin before you apply force. Push-pin retainers, the ones often called push pins or Christmas tree clips, have a pin through the centre that locks the barbs open. They cannot be pulled until the pin is released. Push it through or unscrew it, then the clip lifts out. A clip that refuses to move while its neighbours pop easily is usually one of these. They are common on undertrays, wheel arch liners and bumper fascias, less so on door cards, but they turn up in enough door assemblies to be worth checking.
8. Collect the clips and note where each one came from. Door panels frequently use two different lengths on the same panel, often a longer clip at the bottom edge. Mixing them on reassembly is a reliable way to create a new rattle.
Once the panel is off, check the moisture barrier or vapour sheet. If it is butyl-taped, the butyl can usually be reused after warming. If it is torn, replace it. A door that leaks water onto the back of the trim board will produce a soft, dull rattle that sounds nothing like a clip and is much harder to find later.
One more time, in order
If you are about to remove a door panel for the first time and want the short version: screws first, then the bottom edge, then the sides, then lift the top off the window belt. Straight force, trim tool, no twisting. New clips going back in, fitted to the panel before the panel goes on the door.
Most damage during a door panel removal happens in the first thirty seconds, because the first fastener found is the one levered hardest. Slow down at the beginning and the rest of the job is uneventful.
Installing the new clips
There is a right way and a wrong way, and the wrong way is the one most people do.
Fit the clips to the panel first, then offer the panel to the door. Pushing clips into the door frame and then pressing the panel onto them loads the trim board sockets sideways. Seating the clips into the panel first means the panel goes on in one straight movement.
One exception. Some clips are designed to be fitted to the door frame and then to receive the panel, usually the two-piece type where a post on the trim board pushes into a socket in the clip. Match what came off. Those clips are made to be driven in with the clip already on the frame, and pushing the panel on first does not work.
Check the orientation. Push-in clips are not symmetric. The barbs point one way and the head seats one way, and a clip fitted upside down will either not seat or will not release next time. Most clips are moulded with a witness mark or a shoulder that shows which face goes against the trim board, because the panel manufacturer's assembly line relied on it.
Push until it clicks, and not past it. The click is the barb clearing the sheet metal. Continuing to push after the click drives the head into the board and flattens the spring in the clip, which is the preload failure described above. Two fingers, firm, straight, stop at the click.
Where the panel mounts, seat it in this order: top edge onto the belt moulding first, then press the clips home working downward and outward. This keeps the panel aligned with the belt so the clip stems enter their holes squarely. Fighting a misaligned panel into place is what ovalises sockets.
Do not add force with a mallet or the heel of your hand. If a clip will not seat, it is the wrong clip, or there is something behind the panel, or the hole is blocked with old butyl. Pull it and look.
Then confirm the switches, the handle and the lock. Before the last two clips go in, reach behind and check nothing is trapped and that the cables are routed clear of the window glass. Almost every "the window rattles now" complaint after a door repair is a cable left resting on the regulator. Test the door lock, the interior handle and every switch on the panel before the trim ring and the bezel go back on. Reaching them again means pulling the panel a second time.
About anti-rattle tape
Felt tape and foam strip have a place, and it is not on the clips. Tape across the back of a door card is a legitimate way to stop trim-on-trim contact, and it is common practice around speaker adapters and behind switch panels. What it is not is a fix for loose clips. A panel that has lost its preload will saw through the tape in a few thousand miles and the rattle comes back, from the same place, still with the same tired clips in it. Use tape for contact noise and new clips for movement.
Four applications, and how they differ
The part numbers below are the real ones, with the applications we can document. They are four different engineering answers to the same job, which is why a "door panel clip" is not a product category you can buy generically.
| Application | OEM number | What it is for | Why it is not interchangeable |
|---|---|---|---|
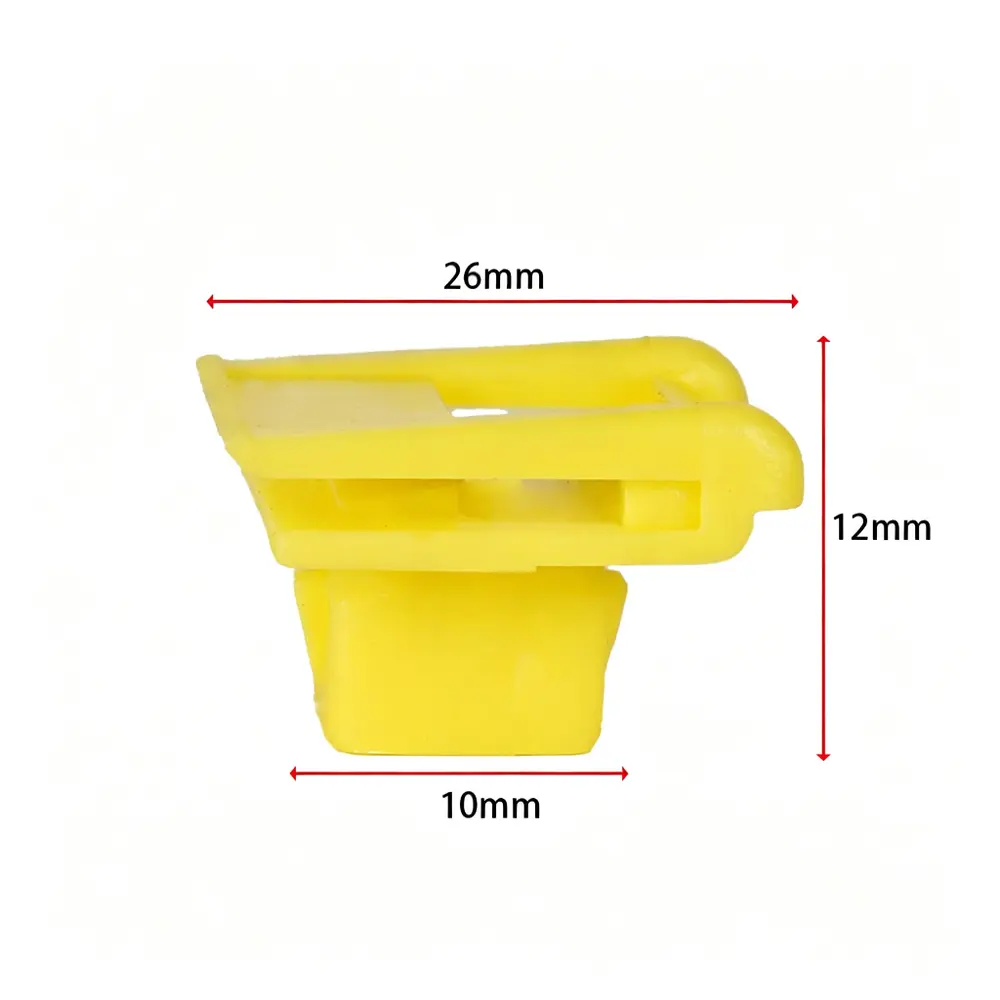
| Toyota Alphard / Vellfire 20-series (ANH2#, ATH20, GGH2#), Noah / Voxy / Esquire 80-series (ZRR8#, ZWR80), 2008-2021 | [75397-58030](/products/75397-58030-rocker-panel-and-door-sill-clip-1039021405474) | Side skirt and rocker moulding retainer, also listed for door sill trim | Wide head and a specific stem length set by the moulding's stand-off from the body — a shorter clip pulls the moulding down and it fouls |
| Volkswagen / Audi, 1993-2002 platforms (Golf, Passat, Caddy, Jetta and related) | [6Q0-868-297](/products/6q0-868-297-door-panel-trim-clip-1070389868868) | Door panel trim clip | The classic VW door card clip: the stem diameter and the shoulder height are what set the panel's gap to the door frame, which is where the squeak and the rattle both start |
| Mazda, 2015-2023 (CX-3 DK, MX-5 Miata ND, MX-30) | [KD53-50-M38](/products/kd53-50-m38-door-panel-trim-clip-987547102772) | Applique and moulding clip, also cross-referenced to BJS7-50-M38 | An applique clip, so it works against a shallow plastic boss rather than sheet metal — the barbs are shorter than a door frame clip |
| Ford / Lincoln, 2008-2025 applications including the 2013 Fusion | [W713297-S300](/products/w713297-s300-door-panel-trim-clip-726210592484) | Door trim panel retainer, also used as a liftgate trim and air duct rivet | A push-in retainer used in several locations on the same vehicle, which is exactly why it is easy to fit the right number in the wrong place |
All four are stocked in 20, 50 and 100-piece packs, because the pack size is part of the decision: one door takes eight to fourteen clips, so a 20-piece pack covers one door with spares and a 50-piece pack covers both front doors and the rears on most cars.
Two things are worth pulling out of that table.
First, numbers cross-reference in one direction more reliably than the other. The Mazda applique clip is listed under more than one number for the same physical part; the Toyota number is used across four different model lines. When you are matching by number, the supersession chain matters as much as the number you started with.
Second, the same retainer often serves several locations on one vehicle. Ford's W713297-S300 shows up as a door trim retainer and as an air outlet duct rivet. It is a real Ford number and it is the right clip for the door panel on the applications that use it — but a shop that fits it by shape rather than by number will eventually fit it where a different retainer belongs, and the comeback will be identical to the fault it was meant to fix.
The Ford door-panel rattle issue is common enough that Ford published a technical service bulletin for door panels rattling on rough roads on the 2013 Fusion, which is a useful reminder that this is a known, diagnosable condition rather than a car-specific mystery.
The honest word on universal assortment kits
A 300- or 400-piece universal trim fastener kit is a reasonable thing to own if you do general work. It is a poor thing to rely on for a door panel.
Here is why, using a real example. One of the common universal kits sold as an "interior panel fastening clasp" set carries eight compartments, each with a printed diagram: 17mm, 20mm, 21mm, 24mm overall length, with the stem and barb dimensions called out in millimetres, and sixty pieces per compartment. That is genuinely useful labelling. But look at what it actually covers — the compartments are mostly bumper, fascia and moulding retainers with 9mm to 13mm stems and 8.5mm to 11mm shoulders, and one of the clips is a wheel arch moulding fastener, not a door card clip at all.
That is representative. Universal kits are built around the sizes that sell in volume, and those sizes are driven by exterior trim, splash shields and bumper covers, not by interior door cards. Buy one of these kits to fix a door panel and the odds are that none of the eight sizes matches the clip you took out, because what matters is not overall length — it is stem diameter, shoulder height and barb geometry.
There is a second problem. A universal clip that is close but not identical will seat, and it will hold for a while. Then the panel gap is wrong by a millimetre, or the preload is wrong, and you have replaced a rattle with a wind noise or a new rattle and no obvious cause. When a customer comes back with the same complaint, the diagnosis starts from scratch because the clip in the door is no longer the one the car was built with.
The kit is not the villain. Buying the kit instead of the right number is.
The packaging is worth a second look too, because it tells you how the kit was assembled. A box that prints "interior panel" on the lid and then fills four of its eight compartments with bumper and fascia retainers was assembled to a price, not to a job. That is fine for a general-purpose tin in a workshop drawer. It is not a specification.
How to identify the clip you actually need
Do this with the clip in your hand, not with a photograph on a screen.
- Read the number off the old clip. Many retainers are moulded with the OEM number on the head or the stem. This is the fastest possible route and it is worth cleaning the clip before you decide the number is unreadable.
- If there is no number, measure four dimensions. Stem diameter (this is the one that most often disqualifies a clip), stem length, head diameter, and the diameter of the hole it seats into.
- Note the material and the colour. Colour is frequently part number information on Japanese and Korean cars. A Toyota side skirt retainer and a Hyundai rocker clip are both sold in blue, white and yellow variants where each colour is a different number for a different moulding. Ordering the colour you removed is not cosmetic. It is the number.
- Find the OEM number through the parts diagram for your exact model and year, using the model code rather than the marketing name. Toyota's 20-series Alphard and 80-series Noah are different clips from the 30-series cars, and a look-up by "Alphard" alone will not tell you that.
- Then cross-reference the number, and check the supersession chain. Our cross-reference tool takes an OEM number and shows the parts that match it; the vehicle fitment guide explains how we state year ranges and why they vary by engine and market.
- Check the pack quantity against the job. A door panel typically takes eight to fourteen clips. Buying a twenty-piece pack for one door leaves you short when the second door goes, which is why the four applications above are stocked in 20, 50 and 100-piece packs.
Why this matters more than the part costs
A door trim clip is a few cents. The calculation that actually matters is the second one.
For a shop, a comeback on a door panel costs a bay for a morning and the customer's confidence permanently. Replace every clip on every panel you open. The panel is already off, the labour is already spent, and the clips are noise against that cost.
Repairing your own car, the same logic holds in hours rather than money. The second removal is the expensive one, and it is the one that tears the trim board socket.
Buying to resell, the clips that sell are the ones with the number on the listing, the applications stated, and the year range given honestly. Nobody reorders a clip they had to guess at.
Where to get them
We stock door panel clips and trim retainers with the OEM or interchange number on the listing, the vehicle applications, and the year range stated, including where the number is superseded and what it cross-references to. The full range is in the door panel clips collection. If you would rather search by number first, the cross-reference lookup accepts an OEM number and shows every part we hold that matches it.
If you have the number off the old clip, send it. If the number is unreadable, send the four dimensions and a photograph of the clip next to a ruler and we will match it. Every listing carries the pack sizes we actually hold, and we are the supplier for the number rather than a reseller guessing at it. If we cannot document a clip, we do not list it. Where a number is superseded, the listing says what it replaces, which is the difference between an aftermarket clip that fits and one that nearly fits.
For trade quantities, send the part numbers, quantities, delivery country and packaging requirements through the wholesale form. Mixed cartons ship for the US, Canada and Mexico, and neutral or private-label packaging is available if you resell. If you are working out which panel you are dealing with in the first place, our door panel clip removal and buying guide covers the four retainer families and the technique in more detail.
Removal technique follows published guidance from professional tool manufacturers, including Würth's guide to removing trim clips without breaking them and Snap-on's guidance on removing plastic trim clips without damage. Ford's door panel rattle bulletin for the 2013 Fusion is published in the standard service information. Always verify the part number against the part you removed before ordering.
Parts mentioned in this guide
Replacement options matched to the part type and vehicle applications in this article.
Need help matching a part?
Email service@motivecrate.com or message us on WhatsApp with your year, make, model and trim and we will confirm the part number for you.
MotiveCrate supplies aftermarket replacement parts and is not affiliated with any vehicle manufacturer. Fitment information is a compatibility guide — always verify the part number before ordering.