MotiveCrate Guides
Door Panel & Interior Trim Clips: How to Match the Right Retainer
Door panel clips hold interior trim, door cards, pillar covers and trunk linings. Learn how to match the OEM retainer by part number, head type, stem length and panel slot.
September 27, 2026 · 8 min read · By MotiveCrate
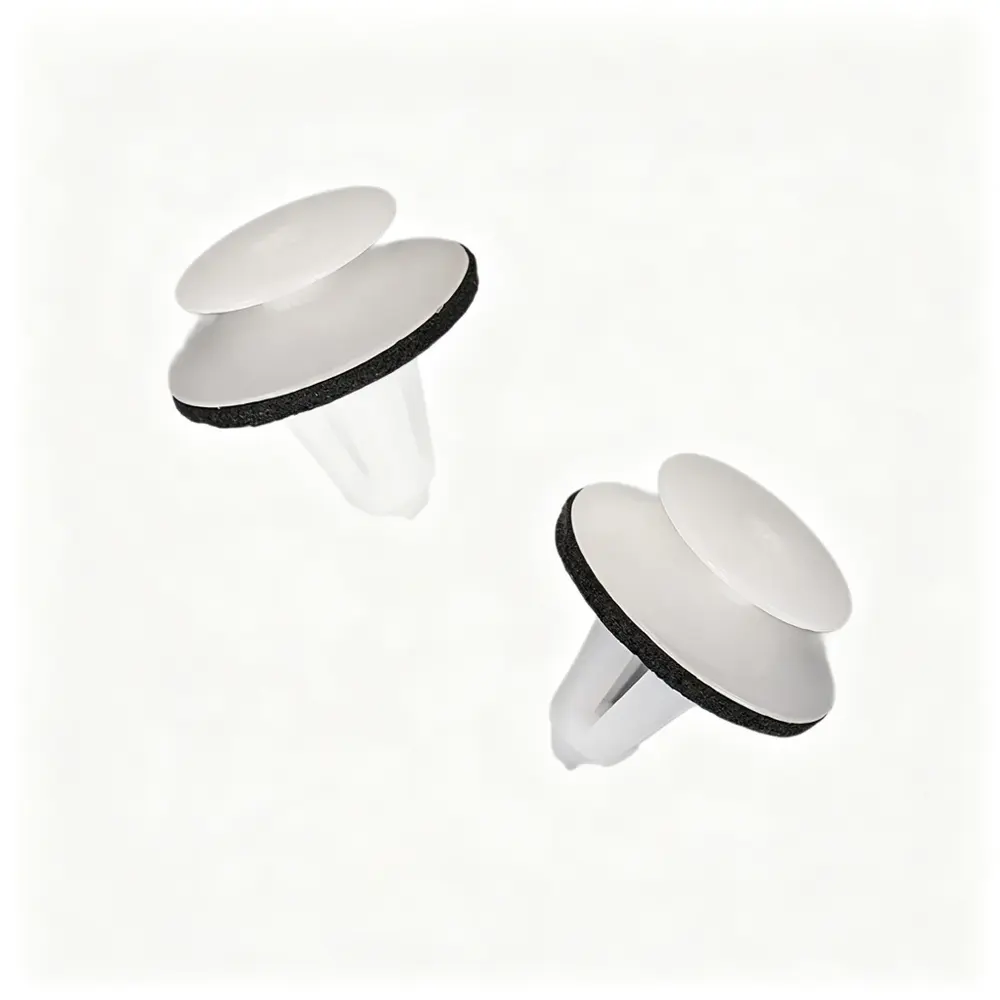
A door panel clip is not interchangeable just because it looks similar. The retainer must match the original part number, panel slot, stem length, head shape and locking depth. The wrong clip can leave the door card loose, cause rattles, damage the mounting slot or break the next time the panel is removed.
Start with the part number on the old clip
The safest replacement is the OEM or interchange number printed or molded on the original retainer. If the number cannot be read, compare the clip dimensions before ordering.
- Head shape — round, square, rectangular, winged or low-profile.
- Stem length — the distance from the head to the locking barbs.
- Barb design — single, double, split, spring or Christmas-tree style.
- Panel slot size — measure the opening in the door card or body panel.
- Material and color — nylon, ABS or POM; color can indicate different specifications.
- Shoulder depth — this controls how tightly the trim sits against the panel.
Door panel, trim panel and trunk lining clips are different jobs
- Door panel clips hold the interior door card to the door shell.
- Pillar clips hold A, B and C pillar covers, which often have a different slot depth.
- Trunk lining clips hold carpet, side trim and cargo panels.
- Door sill and rocker clips secure lower trim covers and scuff plates.
- Headliner clips hold roof-lining or overhead trim and should not be substituted with a door clip.
Quick identification table
| Clip type | Typical use | What to verify |
|---|---|---|
| Round push-in clip | Door cards and interior panels | Head diameter, stem length, panel slot |
| Wide-head trim clip | Pillar covers and large trim panels | Shoulder depth and contact surface |
| Christmas-tree clip | Door cards, cargo trim and liners | Barb count and insertion depth |
| Spring metal clip | Mouldings and edge trim | Spring width and slot thickness |
| Low-profile clip | Flush interior panels | Head height and anti-rattle fit |
Reference MotiveCrate door and interior trim clips
The examples below show how different the correct retainer can be across vehicle families. Always verify the original part number and mounting location.
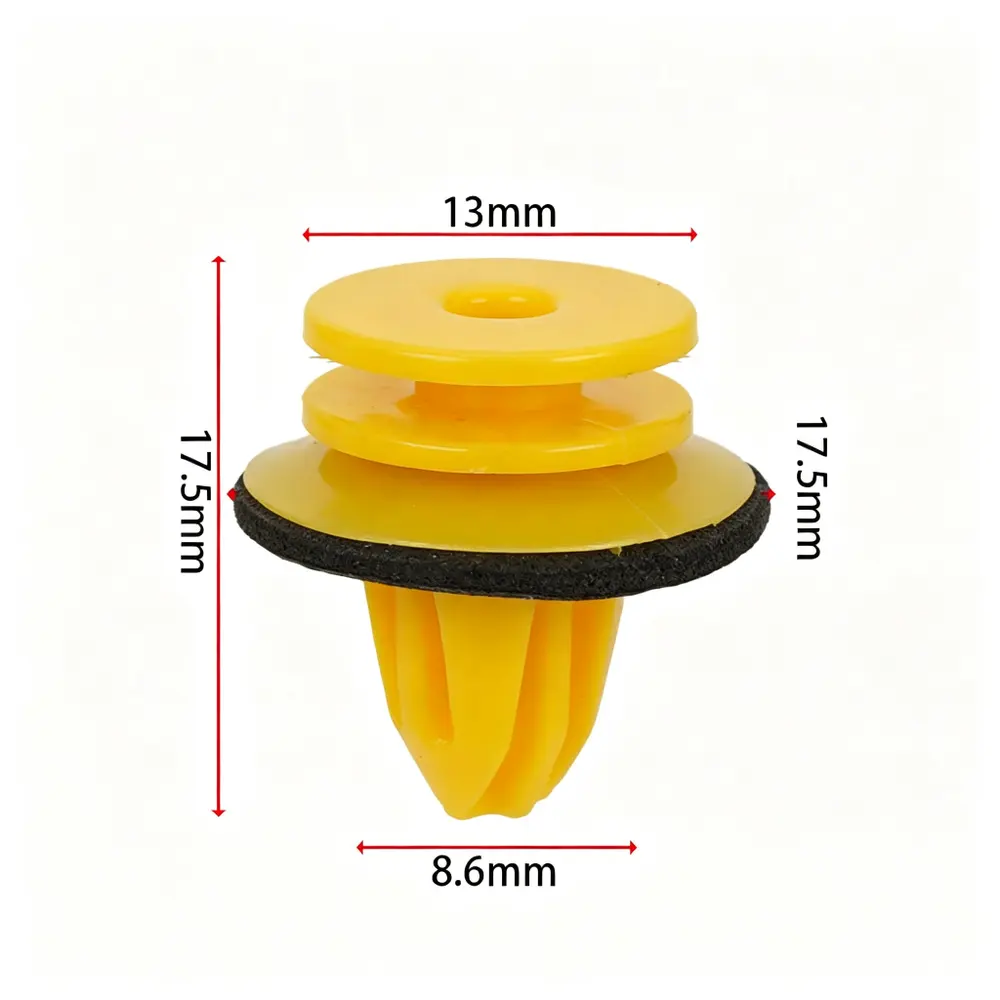
- 0119887678 Mercedes-Benz door panel trim clip
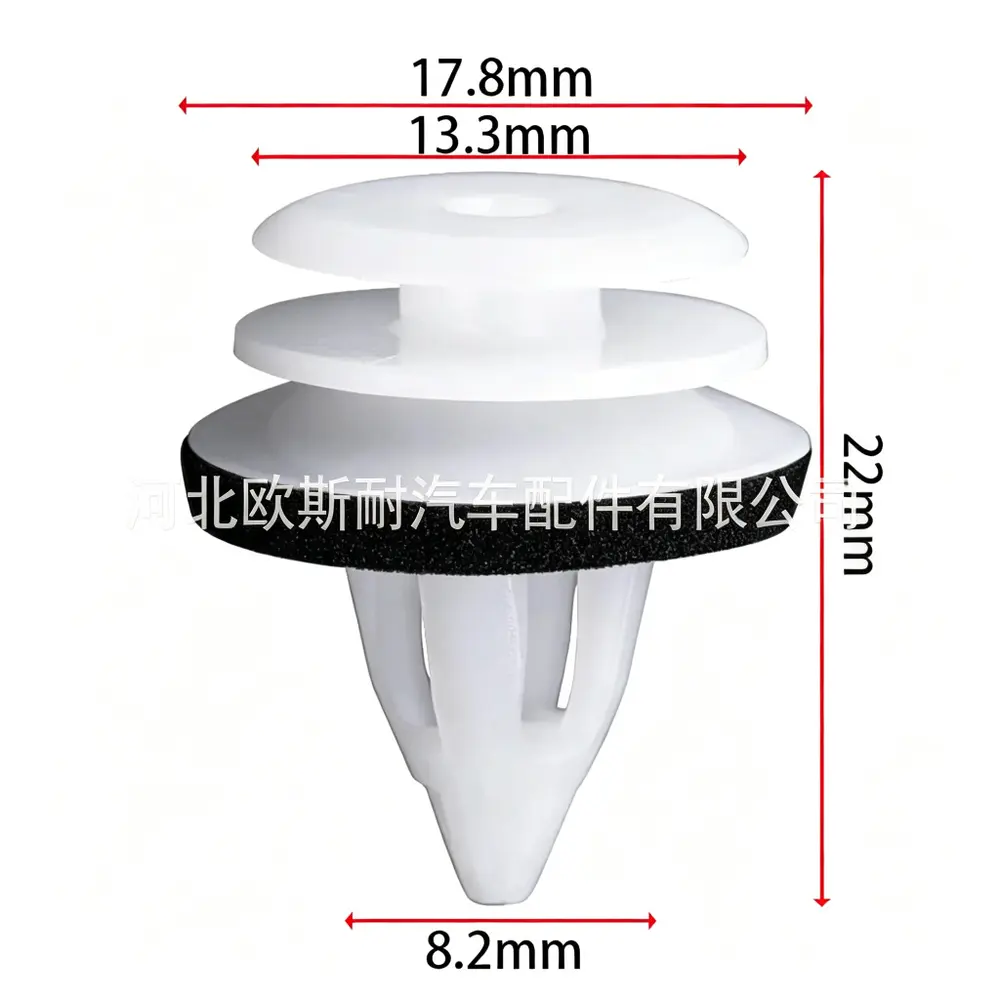
- 8616645 door panel and trunk lining clip
- 39964090 Volvo door trim clip reference
- 6221752120 Toyota A-pillar trim clip
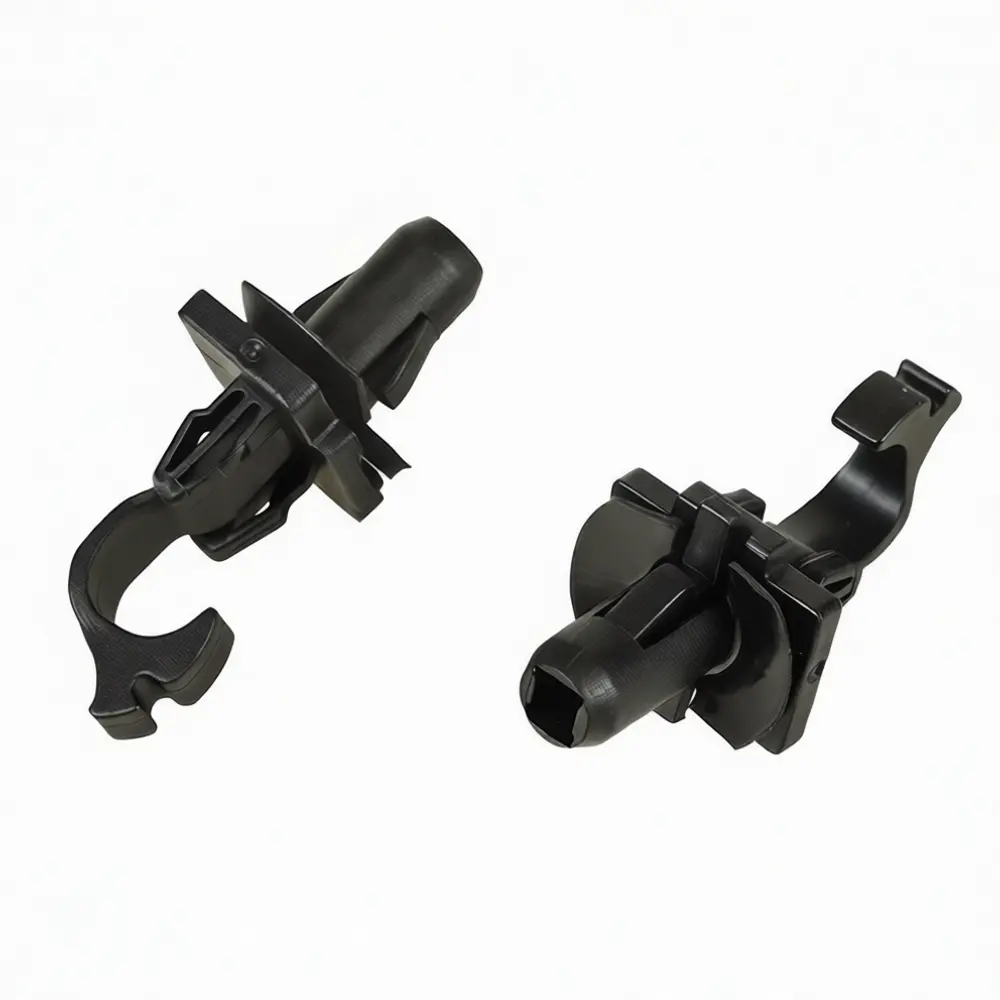
- 79916-D1000 Nissan cargo hook trim clip
- 1472872-00-B Tesla front trunk clip reference
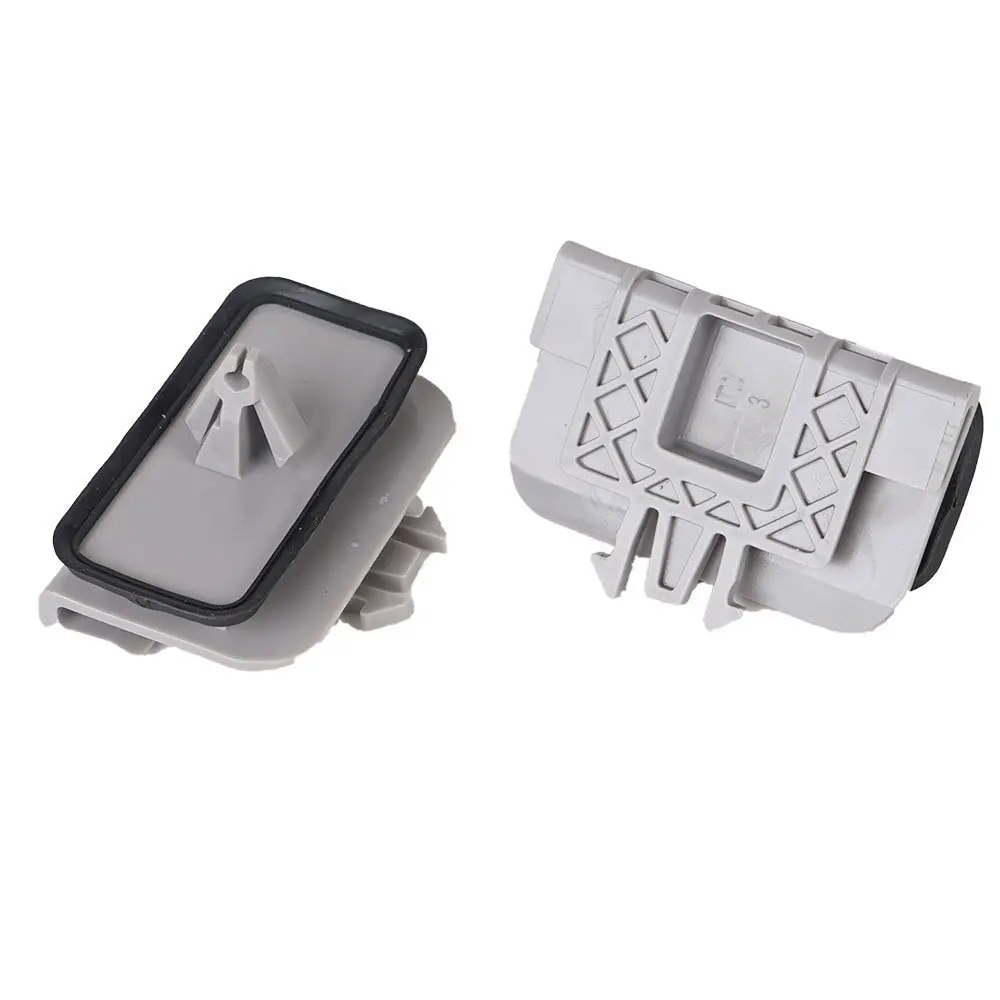
- 3C0853934 VW / Audi door sill and rocker trim clip
- A0009917298 Mercedes-Benz side skirt and door sill clip
Browse the full Door Panel & Interior Trim Clips collection for more references.
How to remove interior trim without breaking it
- Disconnect the battery if the panel contains switches, lights or an airbag-related connector. Do not pull wiring.
- Use a plastic trim tool. Start near a corner where the panel is supported.
- Release one clip at a time. Listen for the locking barb and stop if the panel starts to crack.
- Support the panel. Do not let it hang by wires or one remaining clip.
- Remove broken clip pieces. A fragment left in the slot can prevent the new clip from locking.
How to install the replacement clip
- Confirm the new clip matches the old part number and dimensions.
- Clean the mounting slot and remove old plastic or foam.
- Fit the clip to the trim panel first when the design allows.
- Align the trim and press straight toward the mounting hole.
- Do not hammer or force the panel sideways.
- Test the panel for movement and check that all clips are fully seated.
In cold weather, interior plastic becomes brittle. Warm the cabin if possible before removing trim.
Common mistakes to avoid
- Matching by color or head shape only.
- Using a longer clip because it fits the hole.
- Reusing a clip with a broken or bent barb.
- Pulling a door panel by the trim edge instead of the reinforced area.
- Adding adhesive before confirming the correct retainer.
- Replacing one brittle clip when the surrounding clips are the same age.
Frequently asked questions
Can I use a door panel clip for a pillar cover?
Only if the part number and dimensions are confirmed to be interchangeable. Pillar covers often use a different shoulder depth or slot size.
Why does my door panel rattle after replacing a clip?
The clip may be too short, too loose or missing an anti-rattle shoulder. A damaged panel slot can also prevent the retainer from locking correctly.
How do I identify a clip without a part number?
Measure the head, stem, locking depth and panel slot, and compare photos and dimensions. Do not identify it by vehicle name alone.
Should I replace all clips at once?
If the panel has several brittle clips, replacing the full set can prevent repeated removal. Otherwise, replace every damaged or missing clip and inspect the rest.
Do you offer wholesale door panel clips?
Yes. Contact service@motivecrate.com or message us on WhatsApp for bulk packs, mixed cartons and private-label orders.
MotiveCrate supplies aftermarket replacement parts and is not affiliated with any vehicle manufacturer. Fitment information is a compatibility guide. Always verify the original part number, trim level and mounting location before ordering.
Parts mentioned in this guide
Replacement options matched to the part type and vehicle applications in this article.
Need help matching a part?
Email service@motivecrate.com or message us on WhatsApp with your year, make, model and trim and we will confirm the part number for you.
MotiveCrate supplies aftermarket replacement parts and is not affiliated with any vehicle manufacturer. Fitment information is a compatibility guide — always verify the part number before ordering.