MotiveCrate Guides
Door Panel Clips: How to Get Them Out in One Piece, and What to Stock
Door panel clip types, the removal sequence that actually works, the five mistakes that break them, and how shops should spec and buy them in volume.
Published October 5, 2026 · Updated October 5, 2026 · 9 min read · Reviewed by MotiveCrate
Door Panel Clips: How to Get Them Out in One Piece, and What to Stock
A door panel clip costs a few cents. The hour you spend dealing with one that broke in the wrong place costs considerably more, and if the panel comes away with the clip still attached to the door and the socket torn out of the trim board, you are now repairing the panel too.
There is nothing difficult about removing them. There is just a sequence, and most of the damage comes from skipping it.
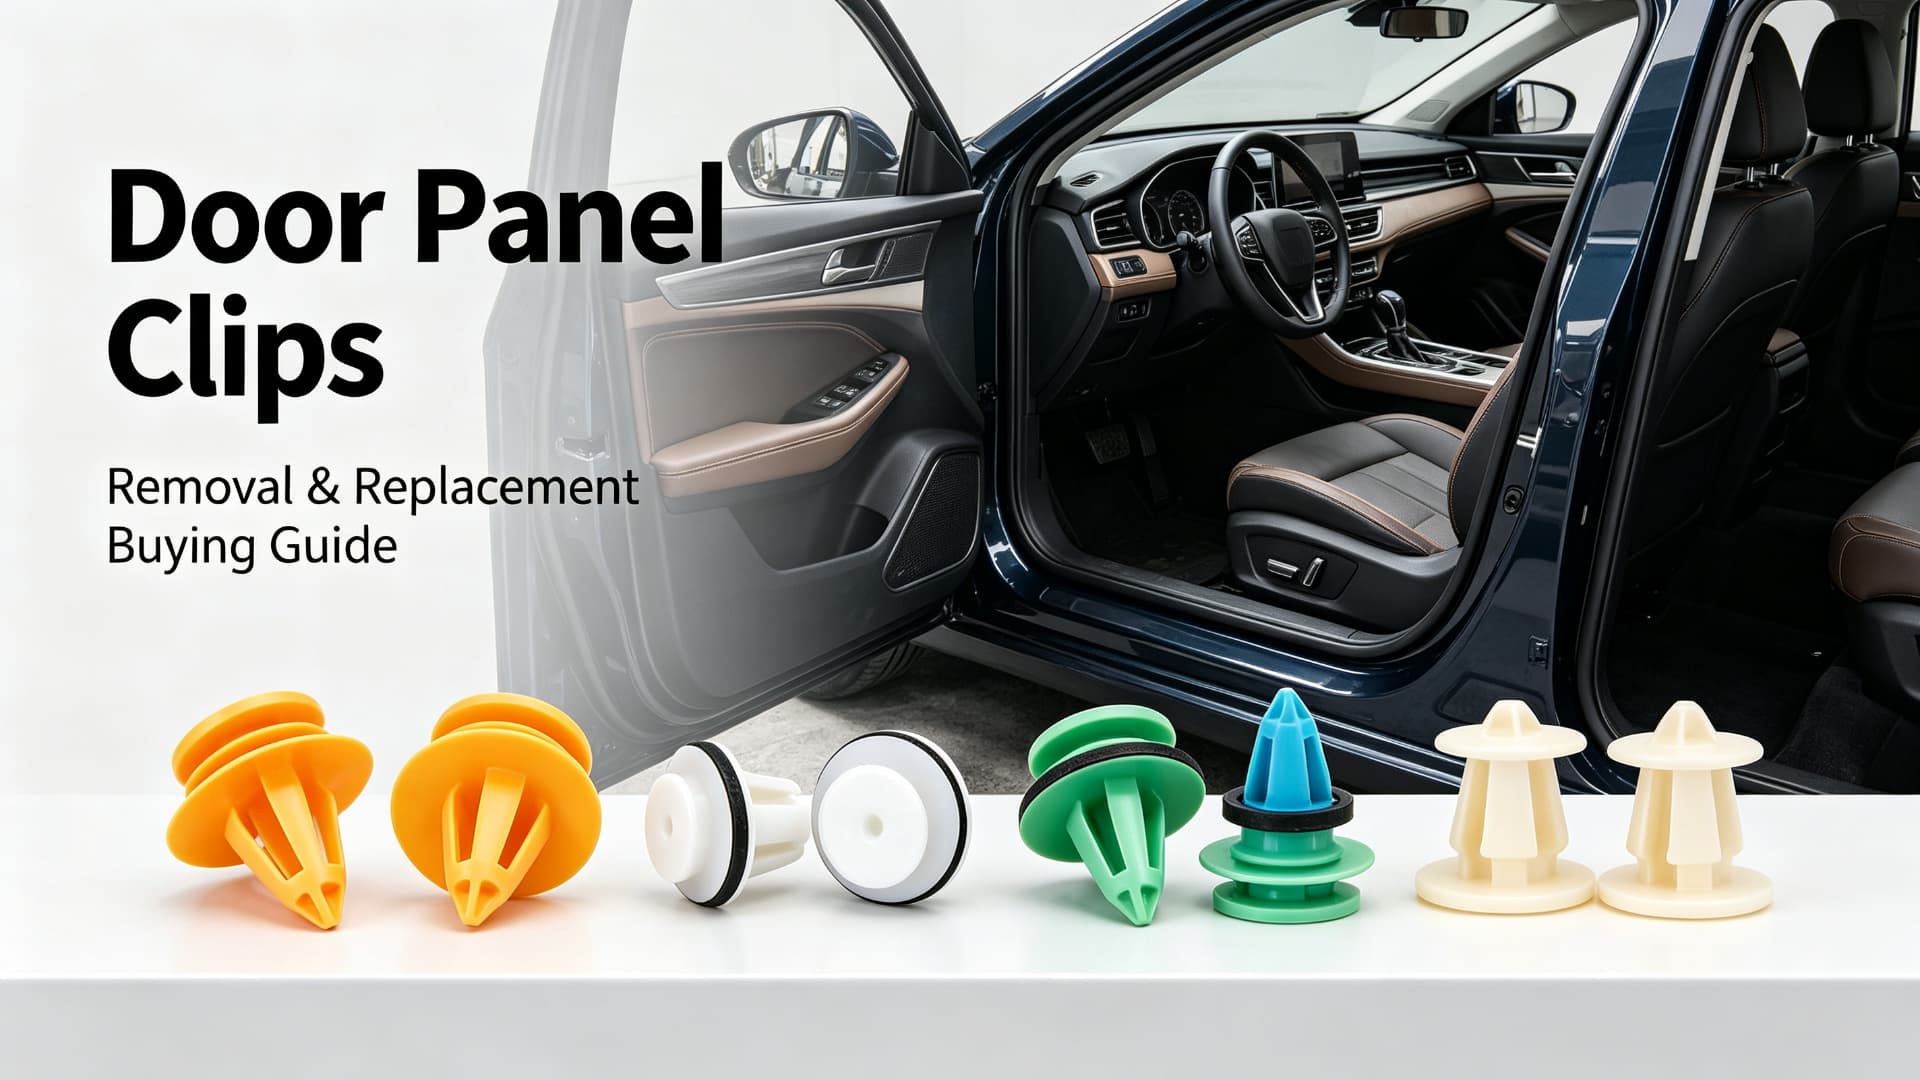
Know which of the four you are pulling
They look similar in a parts photo. They behave differently under a trim tool, and one of them will not come out at all until you deal with something else first.
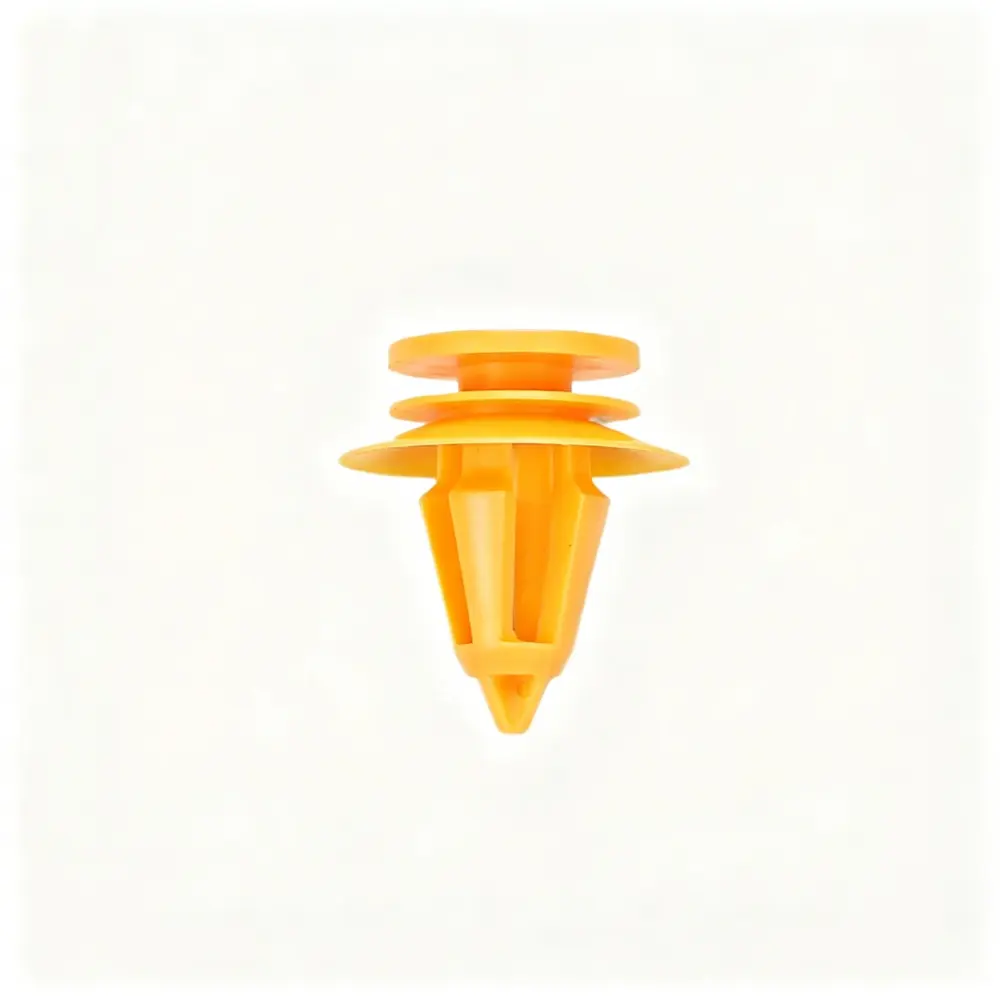
Push-in plastic clips. The common case. Moulded from technical plastics — PA, POM, PP or PC depending on the maker and the load it has to take. They hold by expansion: the barbs splay out behind the panel and grip the sheet metal. Pull straight and they release. Twist and the barbs shear.
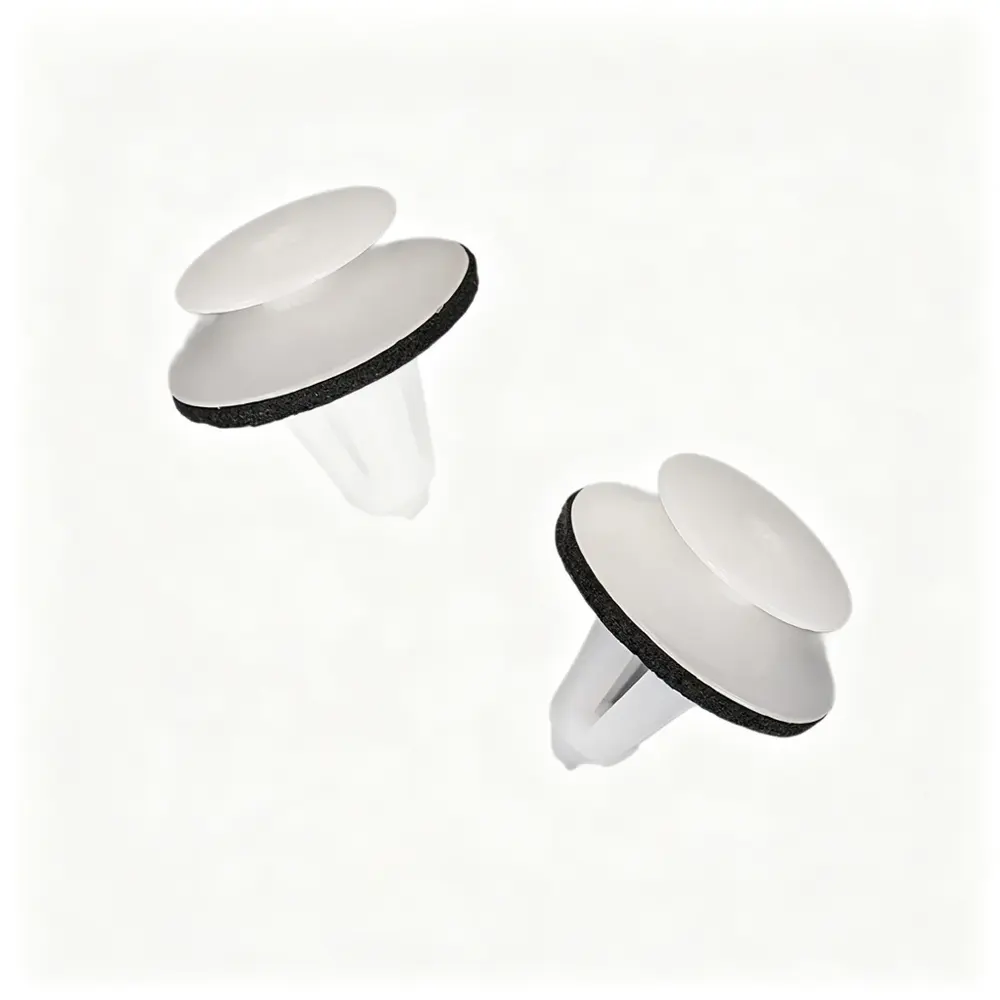
Door panel clips proper. Made to hold interior trim with no visible fastener. Usually a wider head to spread load across the trim board, and a softer engagement so the panel does not rattle. These are the ones that tear the board when they are pulled wrong.
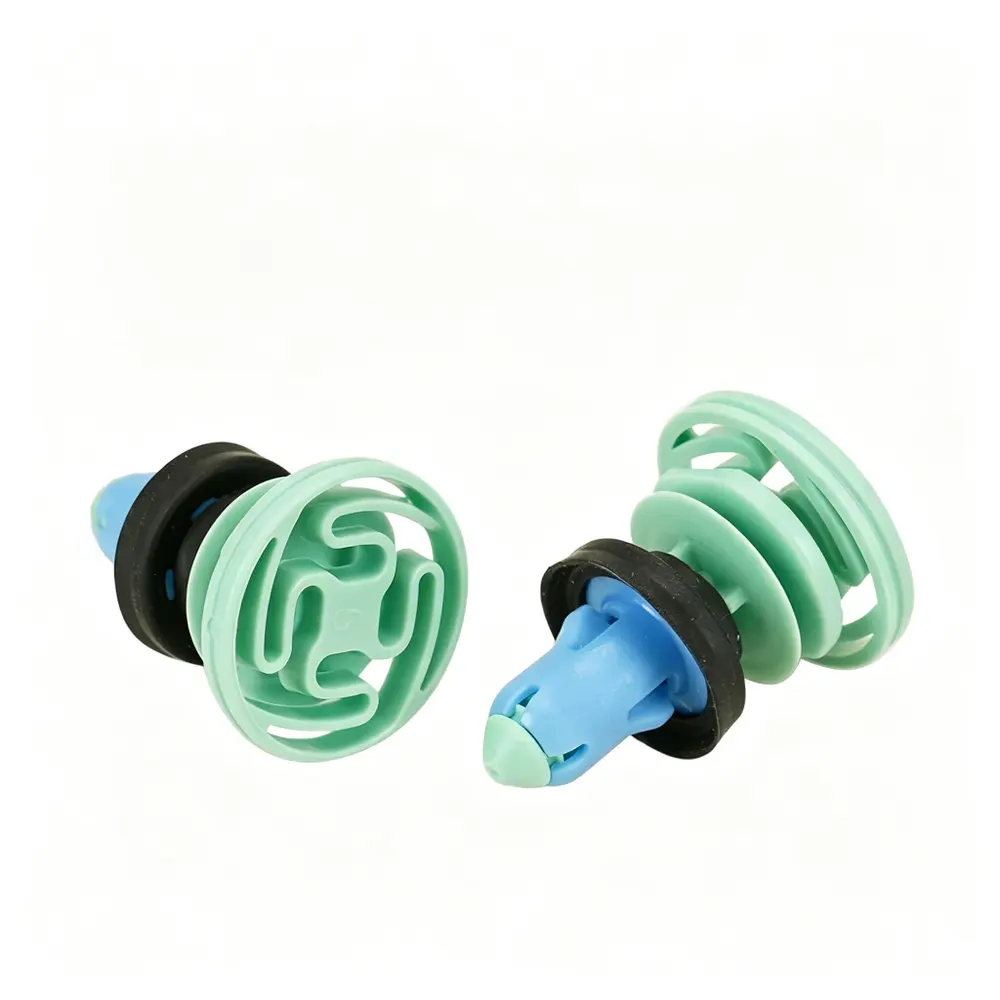
Centre-pin clips. A pin or bolt through the middle of the clip locks the barbs open. Pull on one of these without releasing the pin first and you will break either the clip or the panel, and the clip will win. Push or unscrew the pin, then the clip lifts out. If a clip refuses to move and looks like the others, check for a centre pin before you apply more force.
Metal clips. Where the load is higher or the plastic would creep. Spring steel, reusable far more often than plastic, and they will happily cut through a trim panel if you lever against the wrong spot.
| Type | Material | Where you find it | Reusable |
|---|---|---|---|
| Push-in | PA / POM / PP / PC | Interior trim generally | Yes, if removed straight |
| Door panel | Plastic, wide head | Door cards, trim boards | Yes, but the board is at risk |
| Centre-pin | Plastic + pin | Bumper covers, undertrays, wheel arch liners | Yes, if the pin is released first |
| Metal | Spring steel | Higher-load fixings | Very often |
The removal sequence
Look before you lever. Four things, takes fifteen seconds: how is it fixed, which way does it come out, is there room to work, and what condition is the plastic in. That last one matters most on older vehicles.
Use a trim tool, not a screwdriver. This is the single change that reduces breakage most. A screwdriver concentrates force on one point of a plastic clip that has been heat-cycled for fifteen years. A proper clip tool spreads the load and keeps your hands off the panel.
Lift progressively and work around the clip. Slide the tool under the clip, apply light upward pressure, move the tool around the fastener, keep lifting until it releases. Do not attack one side and lever.
Pull straight. Never twist. Most clips that break do not break from too much force — they break from torsion. Keep the tool parallel to the surface and the force in line with the clip.
Check every clip you removed before it goes back. Cracks, deformation, worn barbs, whether it still grips. A clip that has lost its grip will let the panel rattle, and you will be taking the panel off again to find out which one it was.
The five ways clips break
These are worth naming because four of them are technique and only one is the part's fault.
- Prying with a screwdriver. Point load on aged plastic.
- Yanking the panel. The clips hold. The trim board does not.
- Force in one spot instead of around the clip. Loads one barb, snaps it.
- Not identifying the fastener first. Especially centre-pin clips, which cannot be pulled.
- Wrong tool for the access you have. A long tool where you need a short one applies force at the wrong angle.
Why old clips fail — and why reusing them is usually a false economy
Plastic clips degrade. Heat cycling under a dashboard through years of summers, constant vibration, and the occasional previous repair where somebody already broke one. By the time you are in there, a clip that came out in one piece may still have lost enough of its grip to rattle within a month.
For a shop, this is a straightforward calculation. A clip costs cents. A comeback costs a bay, a technician's morning, and possibly the customer. Replace clips on any panel you open. The labour is already spent — the panel is off — and the parts cost is noise against it.
The exception is metal clips, which hold their spring and are worth inspecting and reusing.
Specifying the right clip
Do not match on the number alone, and do not order by photograph.
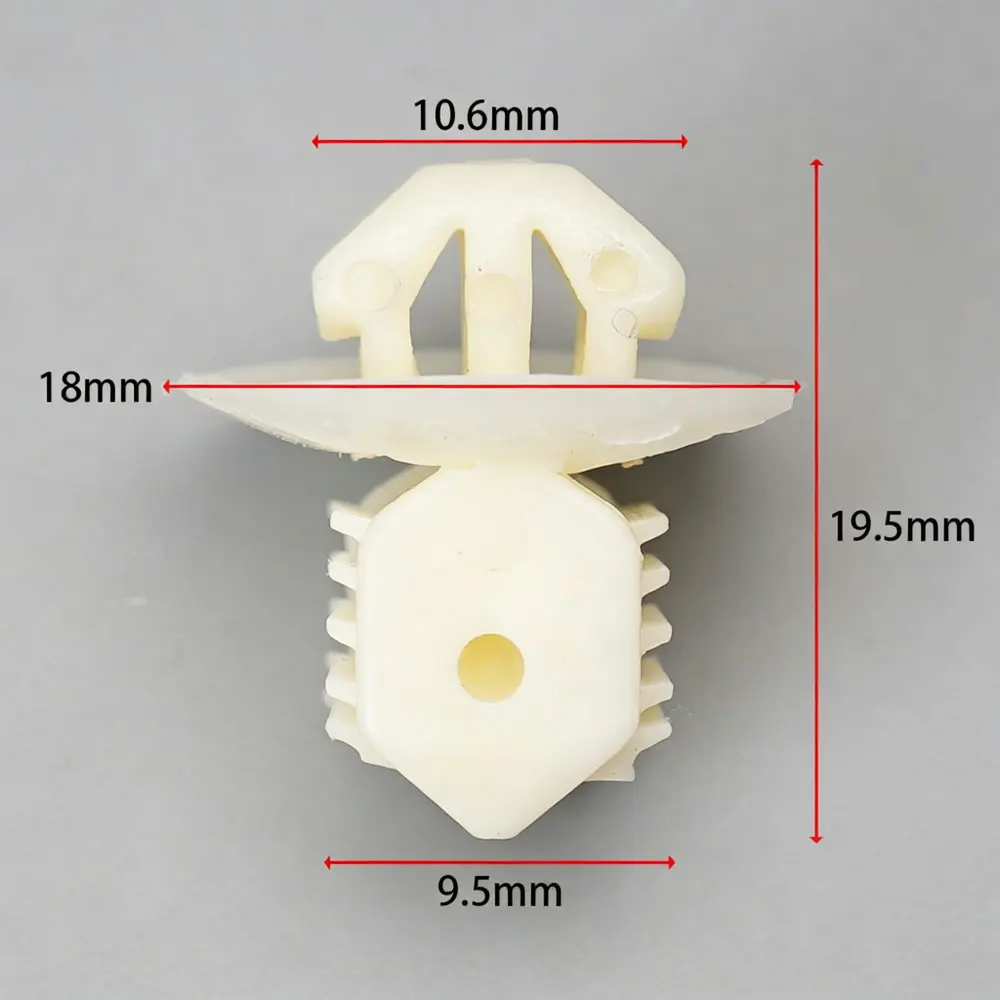
Two clips can share an OEM number across model years and still differ in stem diameter, head diameter, stem length, or the shape of the barb. A millimetre on stem diameter is the difference between a clip that seats and one that falls out.
Measure the one you removed:
- Stem diameter (this is the one that most often disqualifies a clip)
- Stem length
- Head diameter
- Hole diameter in the panel it seats into
Then compare those against the listing. This is also the fastest way to catch a superseded number: the number changed, the dimensions did not.
Buying door clips in volume
For a body shop, a restoration outfit, or anyone doing interior work regularly, the buying pattern that works is different from a one-off repair.
Buy by application, not by kit size. A 700-piece assortment looks efficient until you have used the four sizes you actually need and are left with 600 pieces of clips for vehicles you never see. Trade buyers do better with a small number of part numbers bought deep.
Mixed cartons, not mixed kits. If you are ordering several part numbers, they travel in one carton when the packaging allows it. You pay freight once.
Volume breaks. Typical steps start at 100, 500 and 1,000 pieces per part number. If you are going through a clip steadily, the 1,000-piece price is usually where the margin sits.
Private label and retail packaging. If you resell, you can order neutral packaging, barcoded retail packs, or your own label. This is worth setting up early if retail is part of your channel — the incremental cost is in the packaging, not the clip.
Match the plastic to the job. Standard PA is fine for most interior work. Under-bonnet and exterior applications see more heat and UV, and the cheaper compounds go brittle faster. If a clip is failing repeatedly in the same location, the material is often the reason rather than the installation.
What we hold
We stock the door trim and panel clips we can document, with the OEM or interchange number on the listing and the vehicle applications and year ranges stated. Where the number is superseded, we list what it cross-references to.
Send us the number off the original part, or the dimensions if the number is unreadable, and we will match it. For bulk, send the part numbers, quantities, delivery country and packaging requirements through the wholesale form — we quote mixed cartons for the US, Canada and Mexico.
Technique in this article follows published guidance from professional tool manufacturers, including Würth's guide to removing trim clips without breaking them. Dimension and material guidance is general practice; always verify against the part you removed.
Parts mentioned in this guide
Replacement options matched to the part type and vehicle applications in this article.
Need help matching a part?
Email service@motivecrate.com or message us on WhatsApp with your year, make, model and trim and we will confirm the part number for you.
MotiveCrate supplies aftermarket replacement parts and is not affiliated with any vehicle manufacturer. Fitment information is a compatibility guide — always verify the part number before ordering.